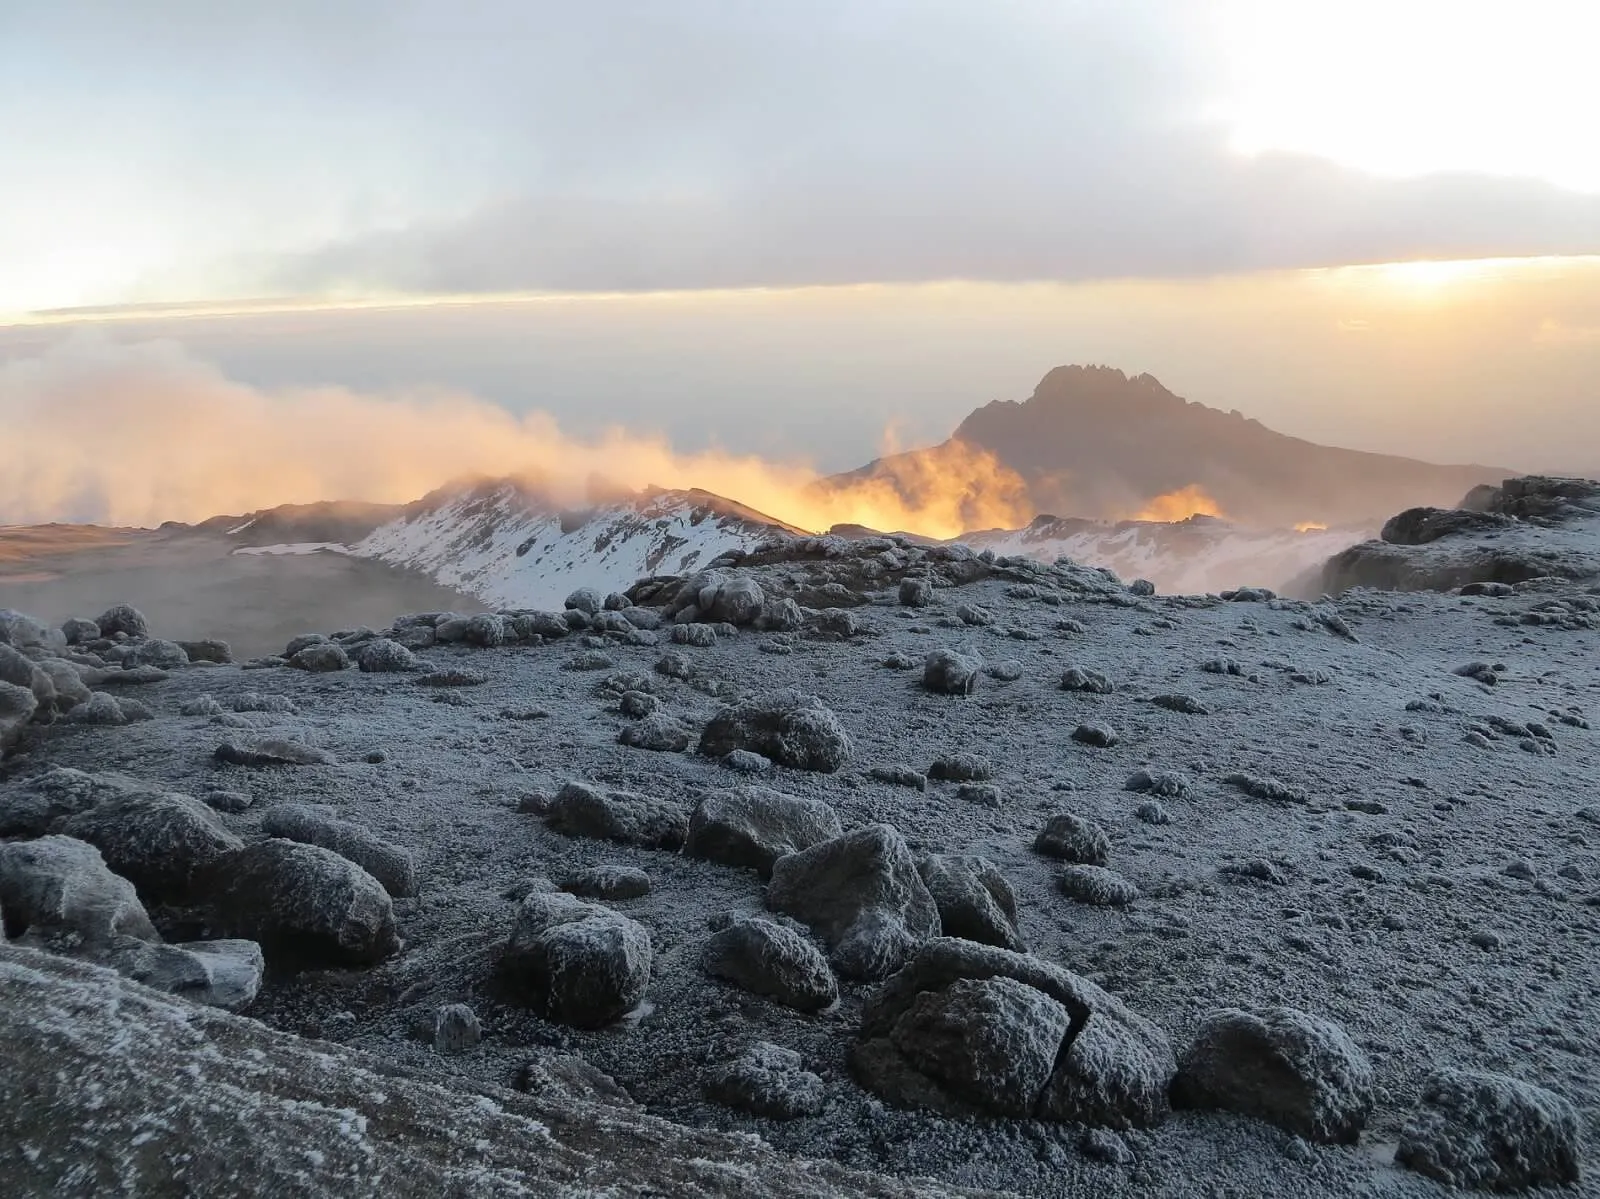
Safari Overview
Highly scenic Lemosho Route starts west, merging with Machame. Excellent acclimatization, diverse scenery, high success (~85%). Less crowded early days, beautiful Shira Plateau.
Detailed Itinerary
Londorossi Gate to Mti Mkubwa Camp
Gate (2,100m) through rainforest to Mti Mkubwa (2,650m). Distance: 6km, Time: 3-4 hours, Gain: 550m. After registration, you start trekking with a comfortable “pole pole” pace. Expect regular breaks for water, snacks, and photos. Overnight at Mti Mkubwa Camp. Tip: move slowly, drink water regularly, and tell your guide early if you feel headache, nausea, or unusual fatigue.
Mti Mkubwa to Shira 1 Camp
To Shira Plateau (3,500m). Distance: 8km, Time: 5-6 hours, Gain: 850m. Your guide sets a steady “pole pole” rhythm with rest breaks, keeping the day comfortable while supporting acclimatization. Overnight at Shira 1 Camp. Tip: move slowly, drink water regularly, and tell your guide early if you feel headache, nausea, or unusual fatigue.
Shira 1 to Moir Hut
To Moir Hut (4,200m). Distance: 7km, Time: 5-7 hours, Gain: 700m. Your guide sets a steady “pole pole” rhythm with rest breaks, keeping the day comfortable while supporting acclimatization. Overnight at Moir Hut. Tip: move slowly, drink water regularly, and tell your guide early if you feel headache, nausea, or unusual fatigue.
Moir Hut to Barranco Camp via Lava Tower
To Lava Tower (4,630m), down to Barranco (3,950m). Distance: 12km, Time: 7-9 hours, Gain/Loss: +430m/-680m. This is a classic “climb high, sleep low” day — you gain altitude to stimulate acclimatization, then descend to a lower camp for better recovery. Overnight at Barranco Camp. Tip: move slowly, drink water regularly, and tell your guide early if you feel headache, nausea, or unusual fatigue.
Barranco Camp to Karanga Camp
Barranco Wall to Karanga (3,995m). Distance: 5km, Time: 4-5 hours, Gain: 45m. Your guide sets a steady “pole pole” rhythm with rest breaks, keeping the day comfortable while supporting acclimatization. Overnight at Karanga Camp. Tip: move slowly, drink water regularly, and tell your guide early if you feel headache, nausea, or unusual fatigue.
Karanga Camp to Barafu Camp
To Barafu (4,600m). Distance: 4km, Time: 3-4 hours, Gain: 605m. Your guide sets a steady “pole pole” rhythm with rest breaks, keeping the day comfortable while supporting acclimatization. Overnight at Barafu Camp. Tip: move slowly, drink water regularly, and tell your guide early if you feel headache, nausea, or unusual fatigue.
Summit Day: Barafu to Uhuru Peak to Mweka Gate
To Uhuru (5,895m), full descent to gate. Distance: 27km, Time: 14-18 hours, Gain/Loss: +1,295m/-4,245m. Your summit push typically begins around midnight. Your guide will keep a slow, steady pace and monitor your condition closely. After the summit (weather permitting near sunrise), you descend carefully back to camp for a short rest, then continue down to a lower camp to recover. Tip: move slowly, drink water regularly, and tell your guide early if you feel headache, nausea, or unusual fatigue.
Inclusions & Exclusions
- Park fees, Camping, Guide, Porters, Meals, Transfers
- Flights, Tips, Gear, Insurance
Requirements
High fitness, Trek experience
.webp)